A crooked frame is easy to live with for a week and impossible to ignore by month three. A shelf that lets go of the drywall at two in the morning is worse. Almost every wall decor failure traces back to something boring: the wrong anchor, a hook placed by eye, two frames spaced unevenly, or a heavy mirror hung on a nail that was meant for a calendar. None of those are hard to avoid. They just have to be handled before the first hole appears.
Here is the order that works — wall first, hardware second, layout third, and only then the drill.
Run your hand along the surface before you decide anything. Drywall, plaster and lath, brick, tile, concrete, wood paneling, and hollow-core doors all behave differently under a drill. A drywall anchor crumbles in brick. A masonry plug never seats in drywall. A nail driven through ceramic tile cracks it, sometimes on the way in, sometimes a day later.
For studs, a magnetic stud finder is more reliable than a beeping one on old walls — it finds the drywall screws, which are attached to the stud. Slide it slowly, mark both edges, then confirm with a thin finish nail. Outlets and switches are a useful clue too: boxes are usually nailed to a stud on one side, and studs are typically spaced 16 inches apart, sometimes 24.
Plaster and lath holds weight well but chips easily, so drill slowly, start with a small bit, and press a strip of painter's tape over the spot to keep the face from cracking. Brick, block, and concrete need a masonry bit and a hammer drill if you have access to one, plus anchors made specifically for masonry. Tile needs a tile bit, a light touch, and a hole placed in the field of the tile rather than on a grout line or near an edge.
Weigh the piece or estimate generously, then buy hardware rated for roughly double that number. The margin matters because drywall weakens around a hole, and because a framed mirror that feels light in your hands is heavier once it is on the wall and someone bumps it.
If the piece is genuinely heavy, or you are not sure what is behind the surface, hiring someone for an hour is cheaper than replacing a mirror and patching a wall.
Galleries and designers commonly hang art with the center at about 57 inches from the floor, which puts the middle of the piece at average eye level. That convention is a good starting point, but your room wins: in a hallway you walk through, art reads better slightly higher; above a sofa, the bottom edge usually sits six to ten inches above the back cushion.
Width matters as much as height. As a general rule of thumb, art over a sofa or console should span roughly two-thirds the width of the furniture beneath it. Smaller than that and the wall swallows it; wider and the composition looks top-heavy. In a gallery arrangement, aim for two to four inches between frames — the consistency of the gaps matters far more than the exact number.
Measure the drop before you mark anything. Pull the hanging wire upward as taut as it will go, then measure from that peak to the top of the frame. Subtract that from your target height and you have the height of the hook, not the height of the frame. This is the step most people skip, and it is why so many pieces end up two inches low.
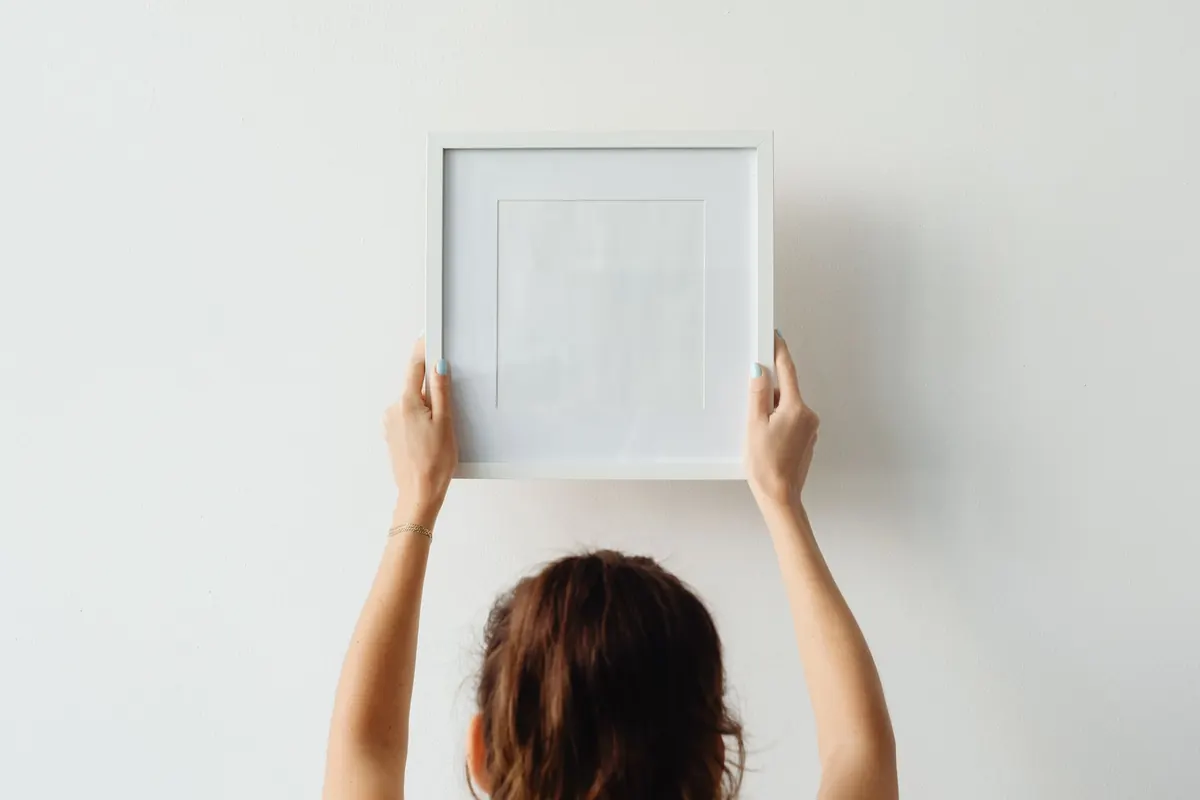
Use painter's tape to mark the center line and the hanging points, then lay a level across the marks. If you are using two hooks, the marks must be level with each other, and the distance between them should mirror the distance between the two attachment points on the back of the piece. Step back and look before you drill. In an older home, the ceiling and floor may not be parallel, so trust the level over your eye — and after hanging, check the top edge of the frame against the level rather than assuming it is straight.
Visual weight is the thing your eye notices without naming. A large dark frame, a heavily matted print, or a bold photograph reads heavier than a pale watercolor in a thin frame. Balance the heavy pieces against each other across the wall, or anchor a group with the biggest piece near the center and build outward.
Leave breathing room. One strong focal point per wall beats five competing ones, and empty space is part of the composition, not a problem to solve. Before you commit, cut paper templates to size, tape them up, and live with the arrangement for a day. Move them once or twice. Rearranging paper costs nothing; rearranging drilled holes costs an afternoon.
Direct sun fades prints, watercolors, and photographs over time, so keep valuable pieces out of the brightest window light or behind glass with UV protection. Glare on glass can wash out a picture entirely; angle it slightly or hang it on a perpendicular wall.
Bathrooms and kitchens are hostile environments for decor. Steam, grease, and humidity loosen adhesive and dull finishes. Choose hardware accordingly, keep pieces away from the direct spray of a shower or stovetop, and consider a sealed frame. In hallways and tight rooms, check the swing of doors, the backs of dining chairs, and how high heads pass before you commit to a spot.
Renters often rely on removable adhesive strips. They work when you follow the weight limits and the removal instructions exactly, but they can still pull paint, so keep a small tub of matching touch-up paint on hand.
None of this is complicated, and most of it takes minutes. The reward is a wall you stop noticing for the right reason: everything sits where it should, at the height you intended, and it stays there. Take the extra ten minutes. A hole takes seconds to make and a weekend to undo.